DIY Preparation Before Whole-House Repiping: A Homeowner's Guide
Learn how to prepare your home for a whole-house repiping project with practical DIY steps, staging tips, and expert advice for a smooth plumbing upgrade.


Understanding Whole-House Repiping and Why Preparation Matters
Whole-house repiping is one of the most comprehensive and impactful plumbing upgrades a property owner can undertake. Whether your older home features aging galvanized steel pipes prone to corrosion or deteriorating polybutylene lines, replacing the entire water supply system protects your home from catastrophic leaks and water damage. While professional plumbers handle the heavy lifting of cutting drywall, running new PEX or copper lines, and pressure testing the system, property owners can take specific steps to prepare their living spaces. Proper preparation streamlines the workflow for your plumbing contractor, protects your personal belongings, and minimizes daily disruptions.
Clearing Access Points to Plumbing Infrastructure
A successful repiping project requires unrestricted access to walls, ceilings, crawlspaces, and utility rooms. Professional plumbers need to maneuver tools, ladders, and long lengths of piping safely through your home. You can significantly speed up the initial phases of the project by clearing work areas ahead of time.
- Clear Closets and Vanities: Empty out bathroom and kitchen sink vanities, utility closets, and laundry room shelving where water supply lines run through walls or floors.
- Move Furniture and Decor: Shift couches, bookcases, and decorative items away from interior walls that plumbers will need to access to route vertical pipes.
- Ensure Attic and Crawlspace Access: Remove boxes, storage items, and debris blocking access hatches to your attic, crawlspace, or basement where main water lines branch out.
Protecting Your Belongings from Dust and Debris
Repiping involves accessing wall cavities, which inevitably generates drywall dust and minor debris. Taking proactive steps to shield your furniture, electronics, and flooring prevents tedious cleanups later and safeguards your investments.
- Use Plastic Sheeting: Seal off rooms where active work is taking place using heavy-duty plastic sheeting and painter's tape to contain dust.
- Cover Large Furniture: Drape clean drop cloths or plastic covers over sofas, beds, and tables located near work zones.
- Relocate Sensitive Electronics: Move computers, televisions, and delicate electronics away from construction zones to protect them from airborne dust and accidental bumps.
Managing Water Service and Temporary Supply Stations
During a whole-house repiping project, your water supply will need to be temporarily shut off at various stages, sometimes for the entire working day. Planning for these outages keeps your household running as smoothly as possible.
- Set Up a Temporary Hydration Station: Fill pitchers and jugs with drinking water and store them in a readily accessible area like the refrigerator or a dining table.
- Stock Up on Paper Goods: Minimize dishwashing needs during active shutoffs by utilizing paper plates, bowls, and cups for a few days.
- Communicate Shutoff Windows: Coordinate closely with your plumbing contractor to understand daily water shutoff and restoration schedules so you can plan cooking, laundry, and personal hygiene routines.
Preparing Exterior and Utility Areas
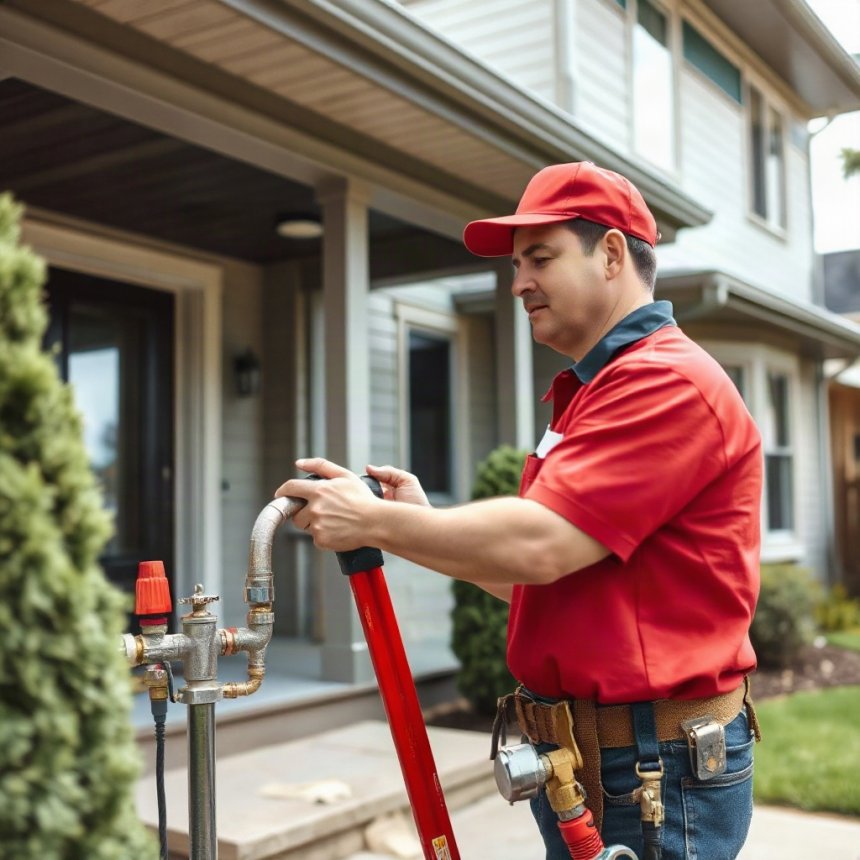
Repiping projects also involve the main water shutoff valve, water heater connections, and potentially outdoor hose bibs. Ensuring these exterior and utility zones are clear allows your plumbing crew to work efficiently.
- Clear the Water Heater Area: Ensure there is plenty of working space around your water heater, as technicians will need to tie the new repiping system directly into your water heating unit.
- Unlock Gates and Side Yards: If exterior lines or main supply shutoffs require outside access, unlock gates and trim back overgrown bushes or tree branches blocking the work path.
When to Call Professional Plumbing Services
While DIY preparation helps streamline the repiping process, the actual installation of PEX or copper supply lines is strictly a job for licensed professionals. Attempting to cut, route, or pressure test whole-house supply systems without proper training, specialized tools, and local code knowledge can lead to severe leaks, structural water damage, and costly repairs. Always partner with a qualified plumbing contractor in Winston-Salem, North Carolina, or your local area to ensure your repiping project is executed safely and up to code.
Frequently Asked Questions About Repiping Preparation
How long does a whole-house repiping project usually take?
Most residential repiping projects take between two to five days to complete, depending on the size of the home, the layout, and the number of bathrooms and fixtures being serviced.
Will I have to move out of my house during repiping?
In most cases, you can remain in your home during the repiping process. Plumbers typically work room by room or floor by floor and aim to restore water service by the end of each working day.
Who is responsible for patching drywall after the pipes are installed?
Contractor agreements vary. Some plumbing companies include basic drywall patching in their scope of work, while others leave surface repairs to a dedicated drywall specialist hired by the homeowner. Always clarify this detail in your contract before work begins.
Conclusion
Preparing your home for whole-house repiping requires organization, proactive cleaning, and clear communication with your plumbing team. By clearing out access points, protecting your furniture from dust, and setting up temporary water stations, you create an efficient environment for your plumbing contractor. Thoughtful preparation protects your property, reduces stress, and ensures your new plumbing system is installed quickly and successfully.
Share
What's Your Reaction?
 Like
0
 Dislike
0
 Love
0
 Funny
0
 Angry
0
 Sad
0
 Wow
0