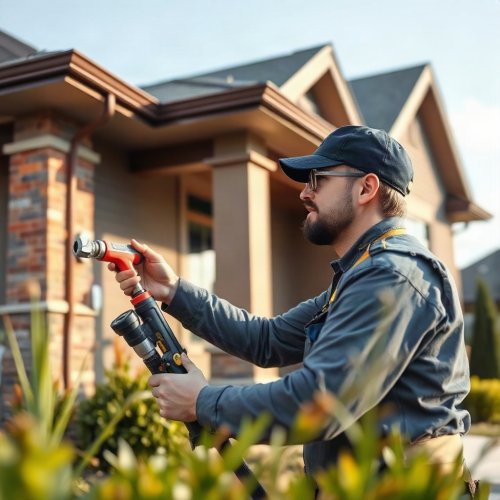
DIY Cable Auger Techniques for Deep Miami Drain Blockages
Learn professional DIY cable auger techniques for clearing deep Miami drain blockages safely and effectively in your home plumbing system.

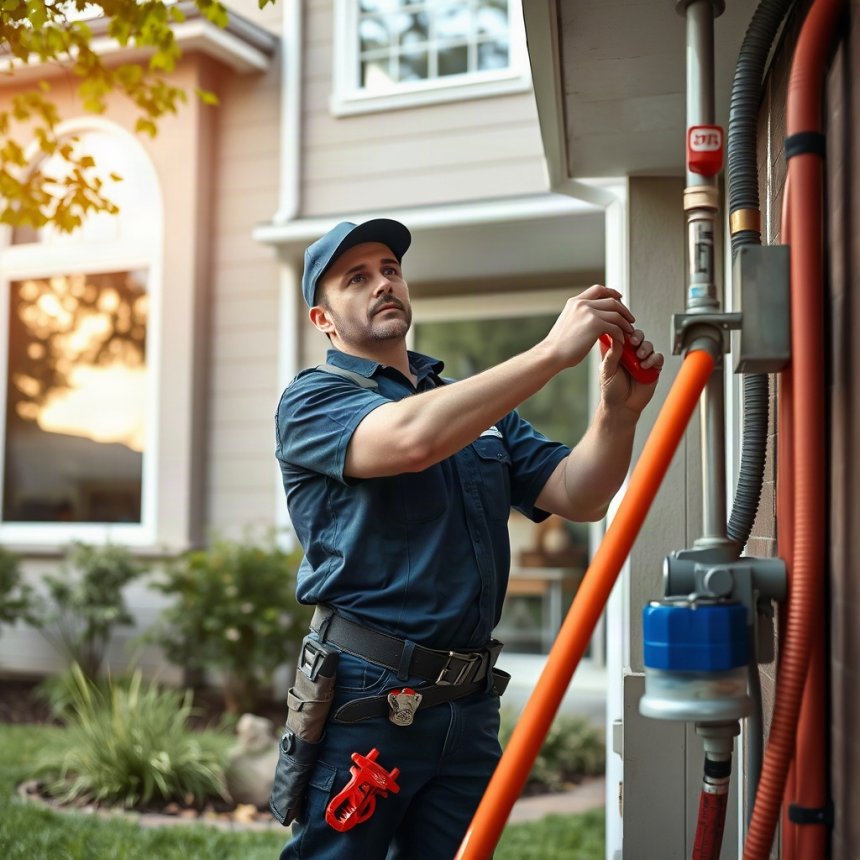
Mastering DIY Cable Auger Techniques for Deep Drain Blockages
Dealing with a stubborn, deep-seated plumbing clog can bring household routines to a sudden halt. Whether you are managing property in Winston-Salem, North Carolina, or troubleshooting a tricky line, understanding how to utilize a manual or motorized cable auger—often referred to as a plumbing snake—is an invaluable skill. While the technique is often discussed in the context of coastal municipalities like Miami where root intrusion and heavy organic debris challenge sewer lines, the mechanics of clearing deep blockages remain consistent across the United States. With two decades of practical plumbing experience under our toolbelts, we are breaking down the exact step-by-step methods to tackle deep pipe obstructions safely without damaging your home infrastructure.
Understanding the Cable Auger and Deep Pipe Dynamics
Before feeding a twenty-foot steel cable into your drainage system, it is vital to understand what you are working with. A standard hand-crank or drill-attached cable auger consists of a flexible metal coil housed in a drum or pulled out manually. When forced deep into a waste line—such as a main sewer cleanout or a primary stack—the cable must navigate multiple bends, sanitary tees, and potentially long horizontal runs.
- Key Components of an Effective Auger Setup:
- The drum housing to keep the coiled cable contained.
- A locking thumbscrew to secure the cable at the desired length.
- A corkscrew or bulb head designed to bore through, hook, or break apart obstructions.
- A drill attachment adapter for added torque if using a motorized system.
Deep blockages typically occur past the immediate trap, often residing twenty to fifty feet down the line where grease accumulation, tree roots, or structural offsets catch toilet paper and waste.
Step-by-Step DIY Cable Auger Techniques
Executing a successful extraction requires patience, finesse, and absolute respect for your home's drainage piping—especially if you have older cast iron or fragile PVC pipes commonly found in residential properties.
1. Locate and Prepare the Access Point
Never attempt to clear a deep blockage through a standard sink strainer or a toilet bowl unless absolutely necessary, as you risk scratching porcelain or getting the auger hopelessly stuck in a trap bend. Instead, locate your main sewer cleanout plug, typically found in the basement, crawlspace, or near the exterior foundation wall. Place towels and a bucket underneath to catch residual gray water.
2. Feed the Cable Smoothly
Loosen the drum lock, pull out a couple of feet of cable, and guide the tip into the open cleanout pipe. Hand-feed the cable inward until you feel physical resistance. This resistance tells you that you have either hit a standard pipe bend or reached the blockage.
3. Engage the Crank and Apply Gentle Torque
Once resistance is met, tighten the thumbscrew so that about six to twelve inches of cable remain exposed between the drum and the pipe opening. Rotate the handle clockwise while applying steady, moderate forward pressure. If you feel the cable binding or twisting backward into a loop, stop immediately. Forcing a twisted cable can cause it to kink or snap inside the pipe, turning a manageable DIY project into a major excavation.
4. Break Through or Retrieve the Obstruction
As the auger head rotates, it will either bore a hole through a soft clog (like grease or paper buildup) or hook onto solid debris (like wet wipes or tree roots). Once you feel the tension suddenly release or notice the cable spinning freely, continue rotating while slowly cranking the cable back out of the line. Wipe the cable down with rags as you retract it.
5. Flush and Test the Line
Run clean water through the access point or a nearby fixture to verify that the flow is fully restored and that water drains rapidly without backing up.
Common Pitfalls to Avoid During DIY Augering
Even seasoned property owners can run into trouble when operating a heavy-duty drain snake. Keep these professional safety tips in mind:
- Never force the cable against hard stops: If you hit a solid metallic or concrete obstruction that will not budge, you may have encountered a structural pipe collapse rather than a soft clog.
- Wear proper protective gear: Raw sewage and stagnant drain water harbor bacteria. Always wear heavy-duty rubber gloves and safety glasses.
- Avoid chemical cleaners before augering: Pouring harsh liquid drain openers into a backed-up pipe and then using a mechanical auger creates a severe splash hazard that can cause chemical burns.
When to Call Professional Plumbing Services
While cable augers are remarkably effective for standard obstructions, DIY techniques have their limits. If you have fed fifty feet of cable into your sewer line with no change in the blockage, or if you notice sewage backing up simultaneously into multiple plumbing fixtures like showers and floor drains, the issue lies deeper in your main lateral sewer line. In these scenarios, professional intervention utilizing high-resolution sewer camera inspections and heavy-duty hydro-jetting equipment is required to permanently resolve the issue.
Frequently Asked Questions
What is the difference between a drain snake and a cable auger?
The terms are often used interchangeably, but a drain snake typically refers to shorter, lighter tools meant for sinks and tubs, whereas a cable auger often implies a heavy-duty device with a longer reach designed for deep main line and sewer blockages.
Can a cable auger damage PVC pipes?
Yes. Aggressive force, improper drill speeds, or using the wrong cutting head can gouge or puncture plastic PVC piping, leading to costly leaks behind walls or underneath concrete slabs.
How far down can a standard DIY cable auger reach?
Most consumer-grade manual and drill-powered augers feature cables ranging from twenty-five to fifty feet in length, which is usually sufficient for interior branch lines and main cleanouts close to the foundation.
By following methodical techniques and respecting the physical limitations of your home plumbing system, you can successfully clear deep blockages and restore full functionality to your property's drainage network.
Share
What's Your Reaction?
 Like
0
 Dislike
0
 Love
0
 Funny
0
 Angry
0
 Sad
0
 Wow
0